Drone Panoramas
This page describes my workflow for spherical panoramas made with my drone.
Taking the Photos
My drone is a DJI Mavic 2 Pro. It has an amazing Hasselblad camera on board, and shoots raw photos in the DNG format. The DJI Go app has a mode for automatically shooting spherical panoramas. In the case of my drone, this records 26 DNG files on the SD card.
Tweaking the Colours
To get the colours of the final photo just the way I want them, I edit the DNG files in Capture One. This is done at this stage, before stitching them, so that the stitching and further processing can happen with 8-bit JPEG files.
Doing the colour tweaks in the individual shots also prevents a visible seam between the left and right edge of the final image. These edges have to have the same colour to make the panorama seamless, but most photo editing software doesn’t take this into account.
Regardless of the software used for this, turn off any “smart” feature that analyses the photo and automatically adjusts things. It is vital that every photo is edited in the same way, so that the edited photos can be stitched seamlessly.
Stitching the Photos
For stitching the photos I use Hugin and a custom assistant script.
The DNG files contain the orientation of both the drone and the camera, in the EXIF information. This info is copied into the edited JPEG files as well. The assistant script takes this information and places the photos at roughly the correct position.
Download the assistant script
dji.assistant and place it in
the appropriate directory. On Windows this is %APPDATA%\hugin\dji.assistant; on
Linux I have to check, probably somewhere in $HOME/.local/share/hugin.
When you have loaded photos into the project, you can go to Edit, User defined assistant, DJI Drone Spherical Panorama to run the assistant.
The control points are found automatically by using Hugin’s CPFind (prealigned). Optimising is done with Positions, View and Barrel to align the photos exactly. If needed, I press F3 to get the list of control points, delete the worst-fitting ones, and repeat the optimisation until I’m happy.
When exporting, make sure to double-check the Field of View. Because the drone cannot look straight up, there is a big gap in the sky, and Hugin sometimes lowers the vertical field of view. Make sure it’s set to 180 degrees.
For the Canvas Size (the final resolution) I always use 16384 x 8192 pixels.
Filling in the Blanks
The output of Hugin has a black hole in the sky. This is filled up by using
Skyfill, software I wrote for this
purpose. Check that page for instructions. I made a shortcut on my desktop to
skyfill.exe so that I can just drag & drop the image onto it.
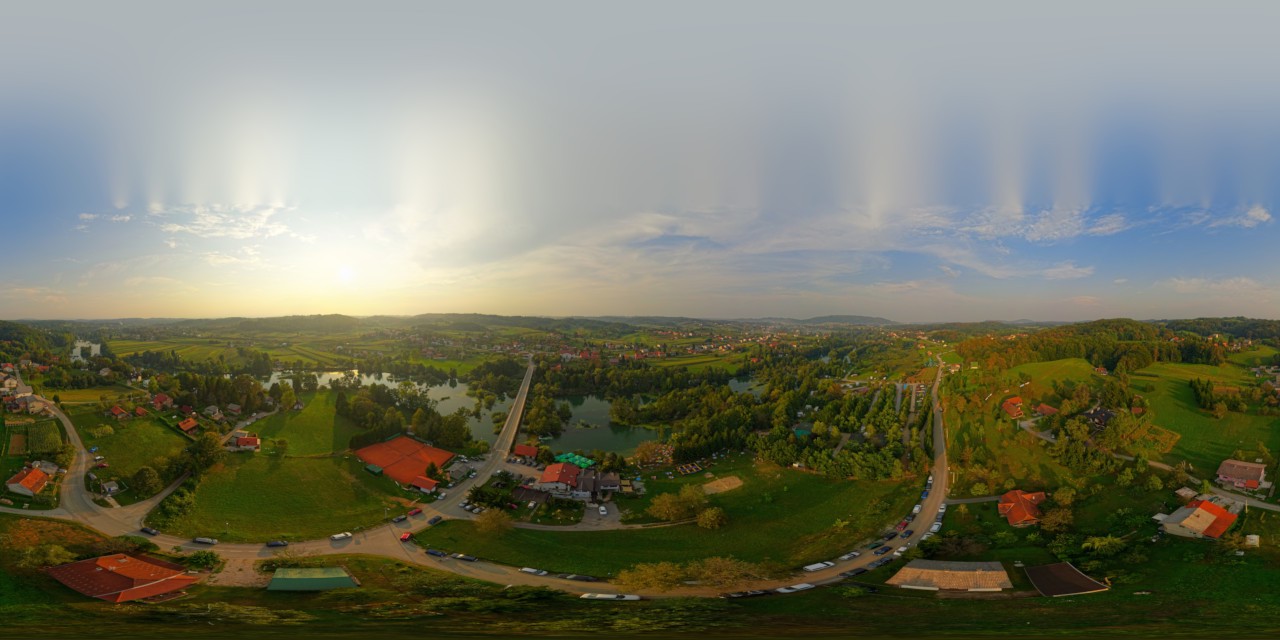
Showing the result.
The final result is embedded on my website by using Pannellum. Because the JPEG is 134 megapixels, I use their multi-resolution panorama approach. This works really well; it makes my website lighter for visitors, and also reduces the bandwidth consumption of my webserver.